Checkpoint Tip - How to use Client ID
Last Published: December 21, 2021
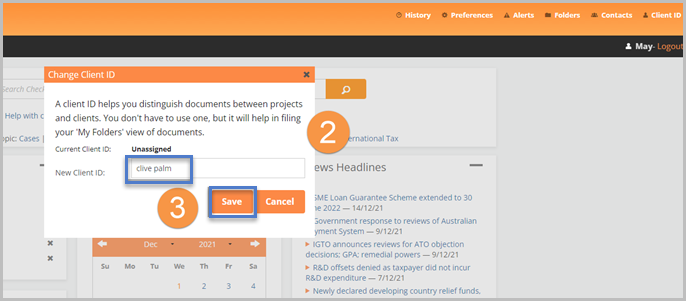
- Select Client ID from the top right of the Checkpoint home page

- Type in a new Client ID.
Note: This can be any title such as a name, number or project tile - Select the Save button.
Your activity and research time will be recorded under this Client ID and you can use the same Client ID for future sessions to continue documenting.
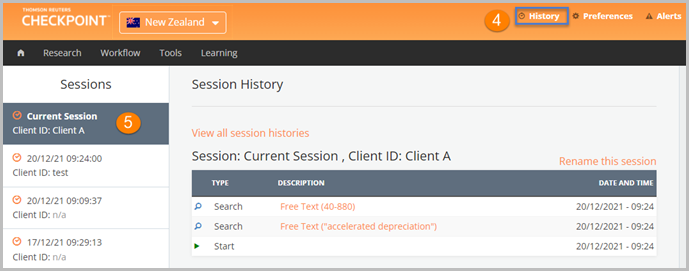
- To view the research history for your client, select the History link
- Select the required session